Measure and Cut all the pieces to be the same length
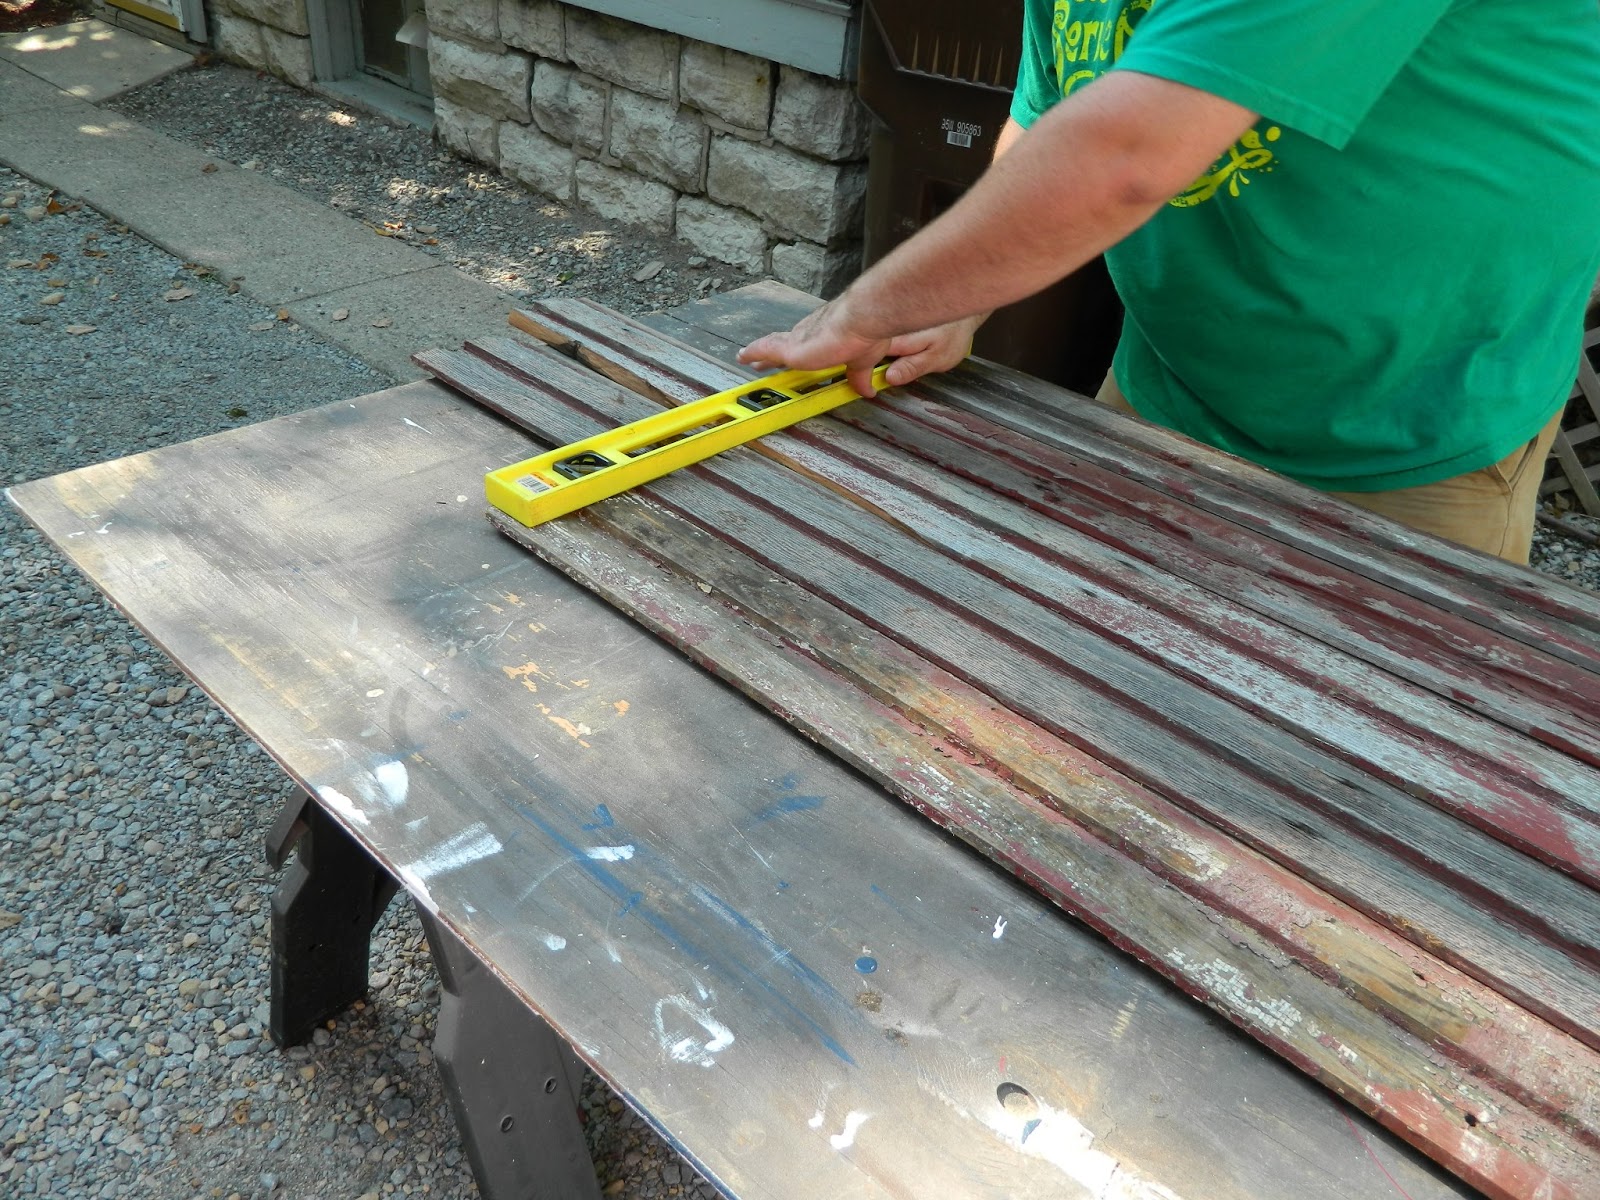

We used a brad nailer to attach the clapboard to the back frame


I realy loved the worn paint and rustic look of the wood we got so all I did to prep the wood for painting was brush off the dirt and loose paint everything else stayed. ( I love things with a story)

I used a projector to put the image I created on the board, if you are better then me I am sure you can free hand it or if you are using a smaller board there are lots of tutorials about transferring things from paper to wood.

I then traced over the design. Something I learned... DONT USE A BLUE SHARPIE!! The color will bleed through and it takes like 8 coats to cover, black however doesn't do this.

I then painted it with a white acrylic craft paint in a gloss because I liked the idea of old meeting new.

No comments:
Post a Comment